
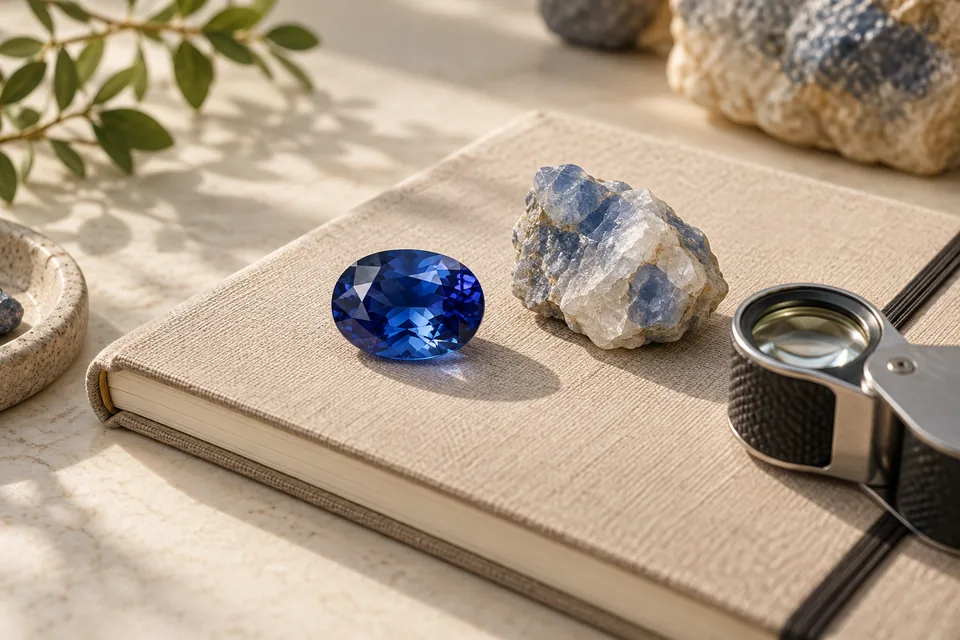
If you have an unfamiliar ring stone, loose gem, inherited pendant, or polished specimen, a gemstone identifier can help you decide what to research next. The useful question is not only “what is this color?” It is whether the photograph shows enough independent clues to separate a few plausible materials.
This guide is for collectors, students, hikers, jewelry owners, and anyone sorting an unknown find. It does not replace a laboratory report, insurance appraisal, or a certificate for a valuable gemstone.
To use a gemstone identifier well, clean the surface gently, take sharp face-up and side photos in neutral daylight, note color, transparency, cut, luster, inclusions, and setting, then compare a short list of matches. Treat the result as a visual lead, never as proof of natural origin, treatment status, value, or authenticity.
Step 1
Start with the stone and its condition
Before searching a gemstone identifier, decide what you are actually photographing. A loose rough piece, a faceted loose stone, and a gem mounted in a ring do not reveal the same evidence. A setting may hide the girdle, pavilion, or lower facets, while a polished surface can reflect the room instead of showing inclusions.
Remove loose dust with a soft cloth only when the material and setting can safely tolerate it. Do not use unknown cleaners, steam, heat, or an ultrasonic device on an unidentified stone.
- Describe the objectRecord whether it is rough, cabochon-cut, faceted, drilled, loose, or mounted in jewelry.
- Check the surfaceSeparate fingerprints, oil, dust, scratches, and a metal setting from the material you want to identify.
- Keep contextNote any label or purchase description as background, not as independent proof of identity.
- Protect uncertaintyDo not chip, scratch, heat, acid-test, or open a setting just to obtain a better photograph.
- A ring stone may be impossible to inspect from the side without removing the jewelry, so say what the camera cannot see.
- A rough specimen may contain several minerals; identify the visible material as a possibility rather than assuming one crystal name.
- A photo of a certificate or seller listing is not the same as an examination of the stone.
Step 2
Capture better photos before trusting a match
Lighting changes a gemstone photograph dramatically. Strong spotlights create white glare and hide inclusions; warm bulbs shift body color; a wet surface can look darker and more saturated. Use indirect daylight or a neutral lamp, keep the background simple, and lock focus on the stone rather than the setting.
Take at least a face-up image, a side or profile image, and a close detail of the surface. A small ruler or coin can show scale for a loose specimen, but do not place a reference object so close that it casts a colored reflection. A second angle often reveals whether a line is an inclusion, a facet edge, a crack, or a reflection.
- Wipe the camera lens and use the highest practical resolution without adding a heavy filter.
- Avoid flash hotspots, colored fabric, mirrored backgrounds, and motion blur.
- Show the same stone in more than one angle when transparency, zoning, or inclusions matter.
Step 3
Read color, transparency, and luster as separate clues
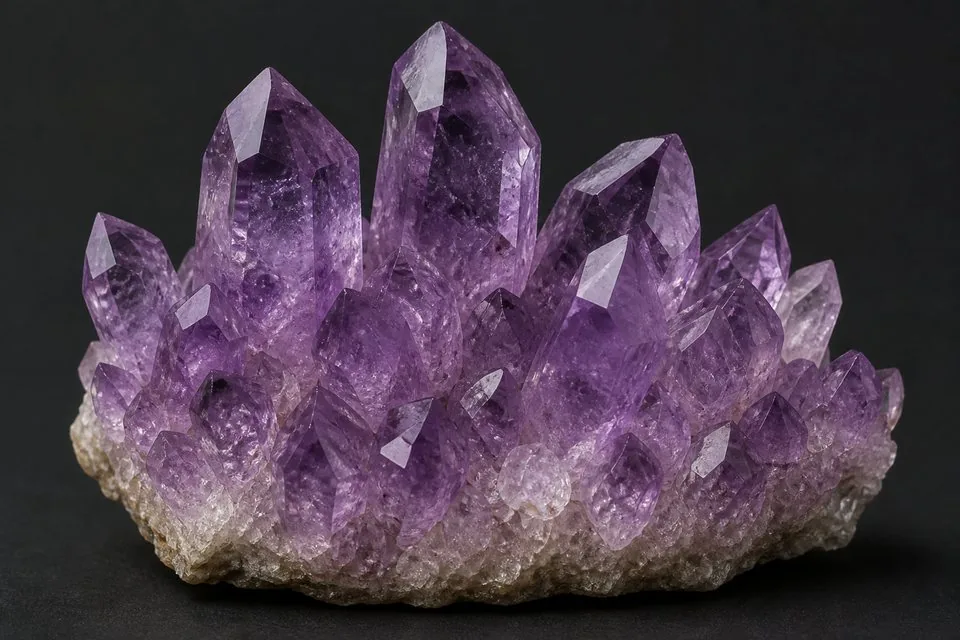
Color is useful only when you describe it precisely. Note the body color, uneven zoning, color bands, and whether the material is transparent, translucent, or opaque. A blue appearance can come from sapphire, glass, dyed material, or a reflection; the color alone cannot select one answer.
Luster describes how a surface returns light: glassy, resinous, waxy, pearly, silky, metallic-looking, or dull. Transparency describes how much light passes through the material. These observations are related but not interchangeable. A polished facet may look brilliant because of its cut and lighting even when the underlying material is not unusually reflective.
Record what is visible and what is missing. If the photo cannot show the back, girdle, internal features, or a fresh surface, keep the candidate list broad. The most useful gemstone identifier result usually explains the clues it used and names reasonable lookalikes.
| Observation | Questions to ask | Common trap |
|---|---|---|
| Color | Is it even, zoned, banded, or surface-only? | Assuming a famous gem name from hue alone. |
| Transparency | Does light pass through the body or only reflect from facets? | Confusing a bright reflection with internal clarity. |
| Luster | Does the surface look glassy, waxy, pearly, silky, or dull? | Treating a polished finish as proof of composition. |
| Surface | Are there scratches, pits, coatings, or fingerprints? | Reading damage or dirt as a natural feature. |
Step 4
Compare cut, inclusions, and visible structure
Inclusions and internal patterns can be more informative than sparkle. Look for veils, needles, clouds, bubbles, growth zoning, fractures, or color concentrations, then ask whether the feature appears in several angles. A single bright line may be a reflection or a facet junction, not a natural inclusion.
Use a trusted gemstone reference to learn the vocabulary. Reference pages can show what a material may look like, but they do not turn one photograph into a verified identification.
Step 5
Use simple checks carefully and non-destructively
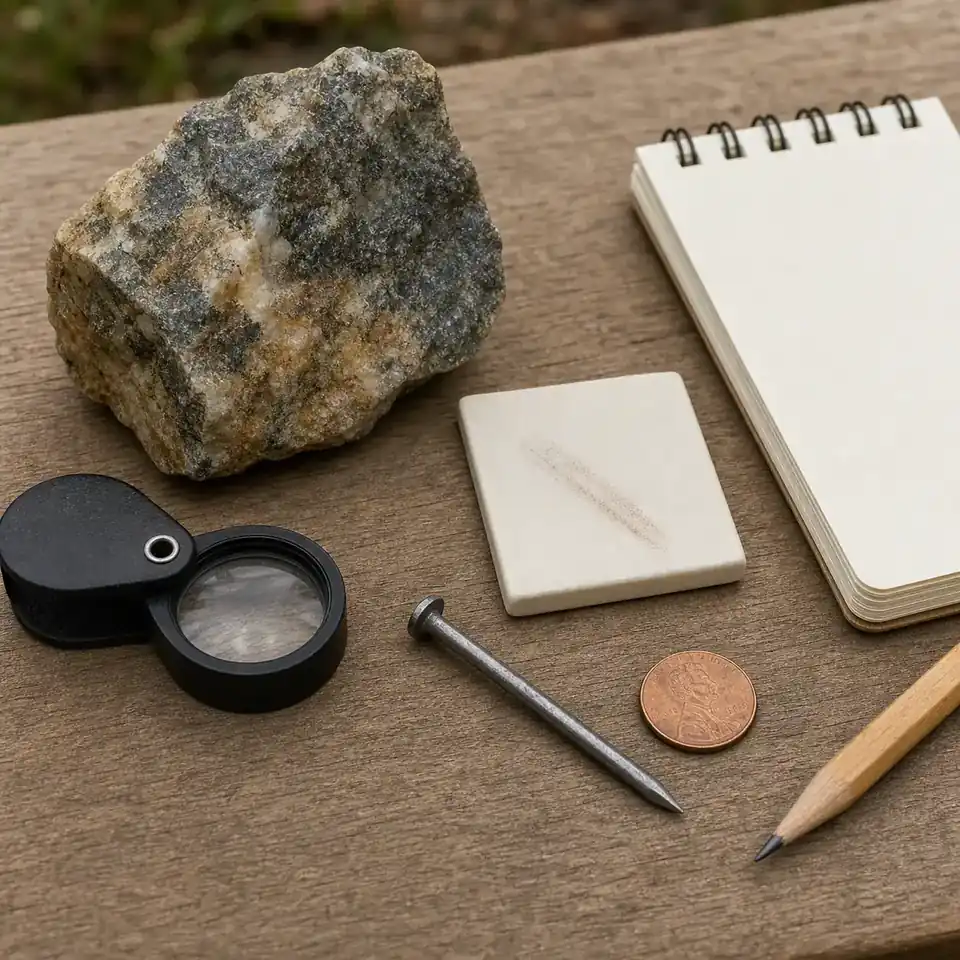
A photo is a first pass, not the only source of evidence. When appropriate, record safe observations such as a streak on an unglazed tile, a magnet response, or a visible fracture. These checks are easy to misuse and never complete an identification.
Do not scratch a valuable, mounted, polished, or culturally important stone. Do not use acids, heat, a flame, or household chemicals on an unknown material. Even a hardness comparison can damage a softer gem or leave a mark that reduces value. When a test could affect the stone, skip it and ask a professional instead.
- Write down the object, pressure, surface, and lighting for any observation so another person can understand it.
- A negative result may be useful, but it rarely proves one specific gemstone.
- If the specimen may contain hazardous fibers or heavy metals, stop handling it and seek qualified advice.
Step 6
Keep lookalikes, treatments, and imitations in view
Good identification is comparative. Red ruby, red spinel, glass, and some treated materials can overlap in a small photograph. Yellow quartz, heat-treated amethyst, synthetic corundum, and other lookalikes can also share color and brilliance. A plausible name is a reason to compare alternatives, not a reason to stop checking.
Treatments and coatings complicate visual evidence. Heating, dyeing, filling, irradiation, coating, and composite construction may change the appearance without being obvious from a single angle. A gemstone identifier cannot confirm treatment status, natural origin, country of origin, or market grade from an image alone.
Write a short working answer such as “blue transparent stone, likely sapphire-like or glass; side view needed.” That wording keeps the uncertainty visible and makes the next photo or professional test more targeted.
Step 7
Use a gemstone identifier for a visual shortlist
An online gemstone identifier is most useful after you have taken a sharp, honest photo. Upload one clear view, read the likely match and visible clues, then compare the suggested lookalikes with your own observations. If the result is broad or says that the photo cannot be narrowed down, improve the evidence instead of forcing a more specific name.
The Rock Identifier homepage is designed for photo-based rock, stone, mineral, crystal, and gemstone exploration. It can help organize a first visual direction and suggest what to photograph next. It does not provide a gem certificate, appraisal, treatment report, or guarantee of authenticity.
Use a trusted gemstone reference alongside the photo result, but keep reference reading separate from the identification claim.
Step 8
Know when a photo is not enough
A photograph cannot directly measure refractive index, birefringence, specific gravity, hardness, chemical composition, microscopic structure, or treatment. It also cannot establish whether a stone is natural, synthetic, dyed, filled, valuable, or safe to sell. Those questions need the right instrument, a qualified examiner, and sometimes a laboratory report.
Ask a qualified gemologist or laboratory when the stone affects insurance, purchase, sale, inheritance, dispute, a scientific record, or an important collection.
If you only need a research lead for a common find, a gemstone identifier can be a practical first step. Keep the answer proportional to the evidence and make the uncertainty part of the record.
Rock Identifier provides an AI-assisted visual starting point. It is not a laboratory test, professional appraisal, gemstone certificate, treatment report, origin guarantee, or value estimate.
Gemstone identifier FAQ
Questions about identifying a gemstone from a photo
Can a gemstone identifier identify a gem from a photo?
A clear photo can suggest likely gemstone matches and useful lookalikes, especially when it shows color, transparency, cut, luster, and inclusions. It cannot prove composition, treatment, origin, value, or authenticity.
What photos work best for gemstone identification?
Use sharp images in indirect daylight, show the face and side, and include the surface, inclusions, setting, or a scale reference when safe. Avoid flash hotspots, colored backgrounds, and wet surfaces.
Can a photo tell if a gemstone is real?
No. Natural, synthetic, treated, coated, and imitation materials can overlap visually. A valuable stone needs an appropriate examination by a qualified gemologist or laboratory.
How do I identify a gemstone at home?
Start with clean photos and non-destructive observations such as color, transparency, luster, cut, inclusions, and possible cleavage. Avoid damaging tests on valuable or mounted stones.
Can a gemstone identifier estimate value?
No reliable value estimate can come from a photo alone. Price depends on verified identity, quality, treatments, weight, origin, condition, and market context.
When should I ask a gemologist?
Ask a qualified gemologist or laboratory when the stone is valuable, insured, inherited, disputed, mounted in jewelry, or important for a purchase or sale.
Reference reading
Gemstone identification resources
Next step
Use the photo as a lead, then verify what matters
The strongest gemstone identification workflow is repeatable: protect the specimen, photograph it in neutral light, describe visible clues, compare lookalikes, and record what remains unknown. That process is useful even when the final answer needs professional testing.
When you are ready for a visual shortlist, use Rock Identifier with a clear photo and treat its result as a research starting point rather than a certificate or appraisal.
Try Rock Identifier